Write in: Meet the real open source image editing tool FLUX.1 Kontext [dev]
Among the many AI image tools available, a new one by Germany's Black Forest Labs Team-developed FLUX.1 Kontext [dev] Models are becoming one of the most popular focuses of the moment with their excellent image editing capabilities.
Unlike many cloud-based services that require credits and pay-per-use, theFLUX.1 Kontext [dev] is an officially released, 12-billion-parameteropen source weighting model. What does this mean? It means that any user with the right hardware can deploy locally for free, unlimited image editing in perpetuity, completely free from dependence on third-party websites.
FLUX The model family is divided into several versions, of which FLUX.1 [dev] is mainly responsible for text-to-image generation, and our main character today FLUX.1 Kontext [dev] On the other hand, it's a program specifically designed forimage editingIt is a powerful tool for design. It is able to deeply understand the "context" (Kontext) of an image, and carry out precise style migration, element modification, and even merge the content of multiple images.
This tutorial will guide you through a zero-to-one local deployment and hands-on practice so that you too can harness this powerful AI tool on your own computer.
Chapter 1: Setting Up the Basic Environment (ComfyUI)
To run FLUX.1 Kontext [dev]We need a powerful graphical interface -ComfyUI. It is a node-based platform, which you can think of as a visual flowchart that controls every step of the AI's work by connecting different functional modules (nodes).
1.1 Download and Install ComfyUI
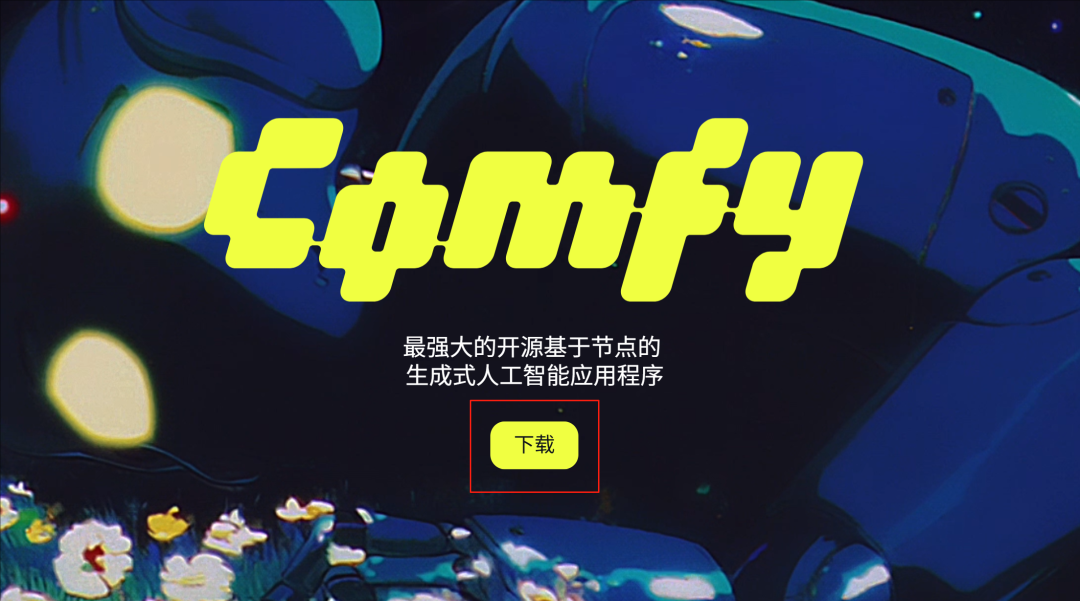
First, visit the ComfyUI The official website of thehttps://www.comfy.org/Click on the "Download" button.
Choose the appropriate version according to your operating system, this article is based on the Windows As an example.
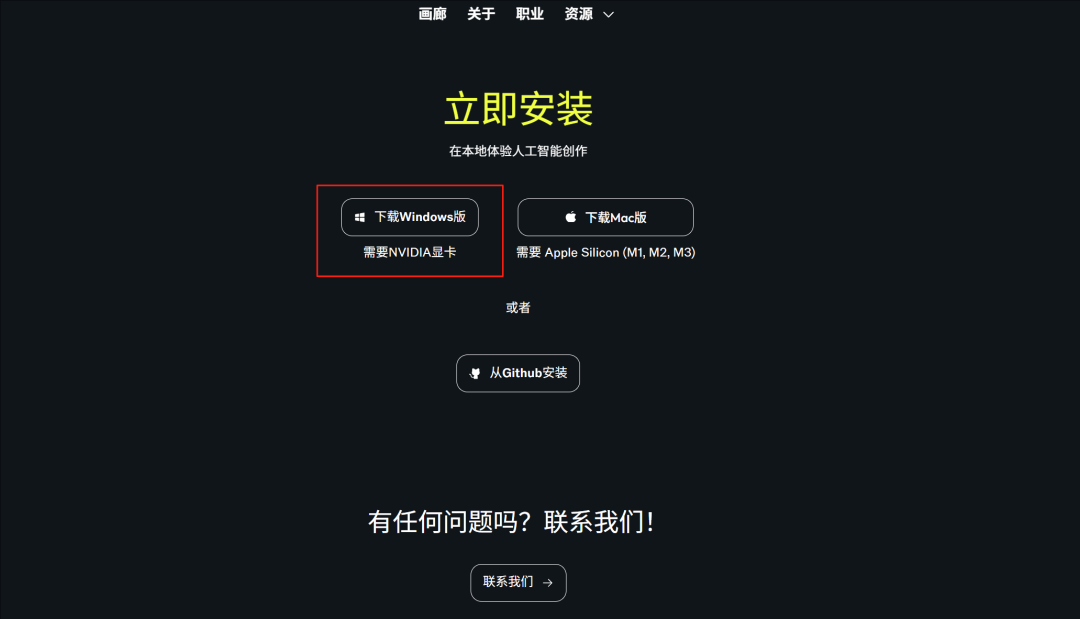
Once the download is complete, double-click .exe file to start the installation.
1.2 Install dependencies: Git
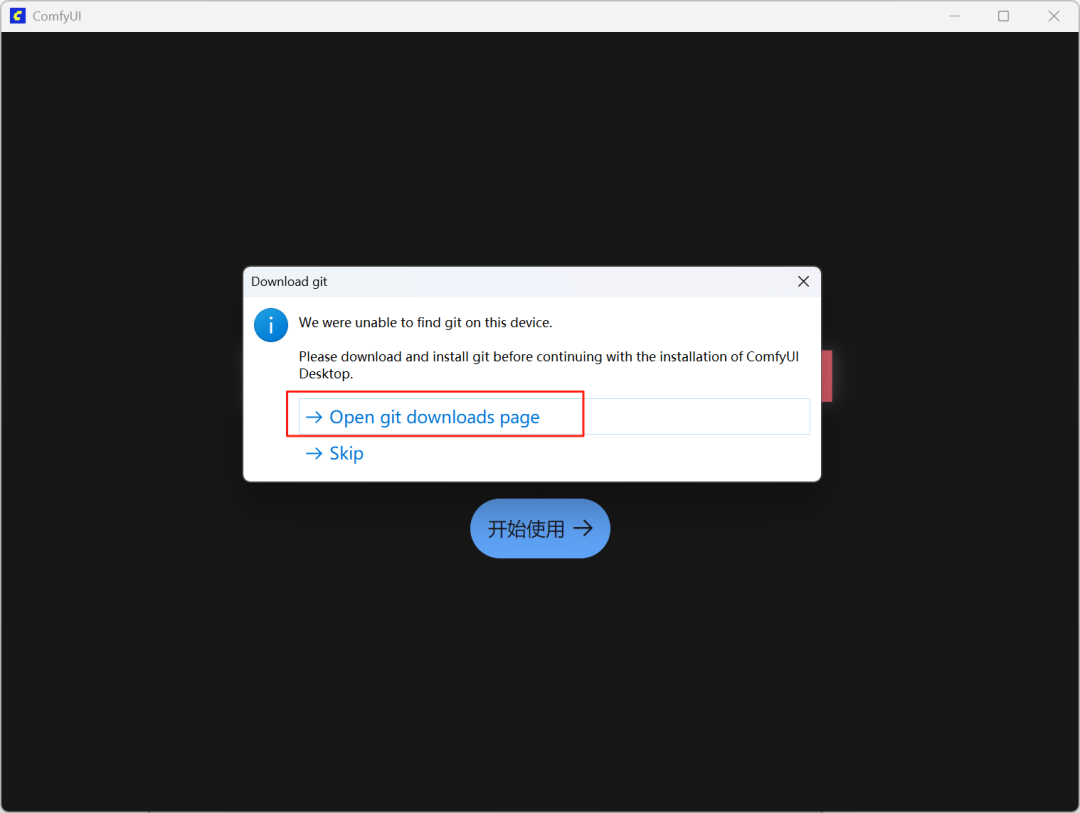
During the installation process, theComfyUI need Git to manage and update components. If you don't have it installed on your computer, the program will pop up a prompt. Click "Open git downloads page" to go to the download page.
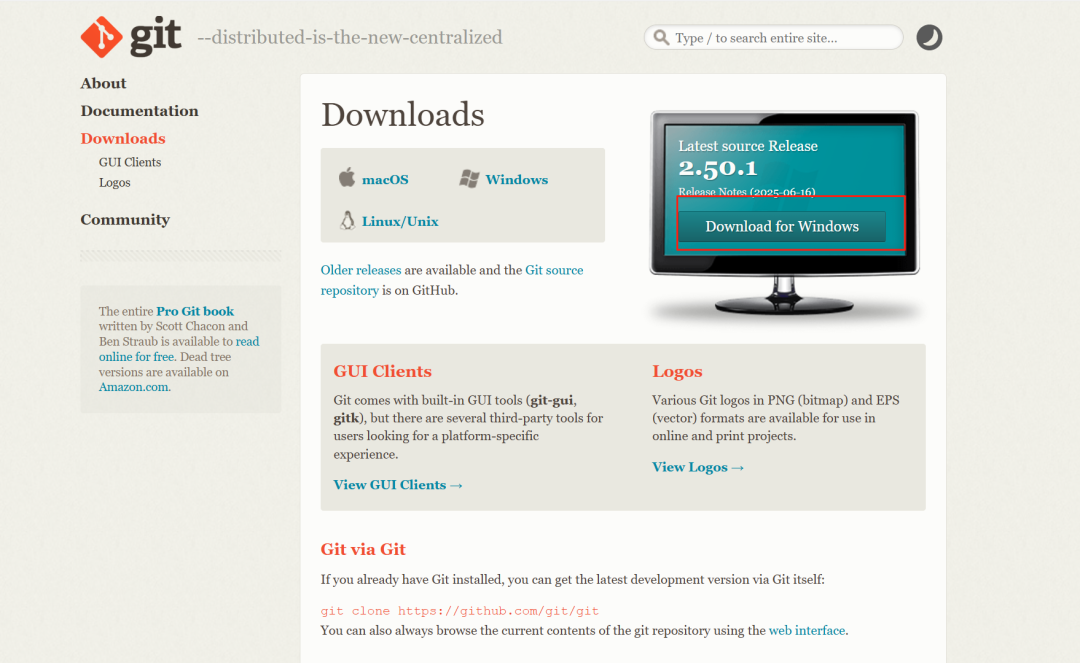
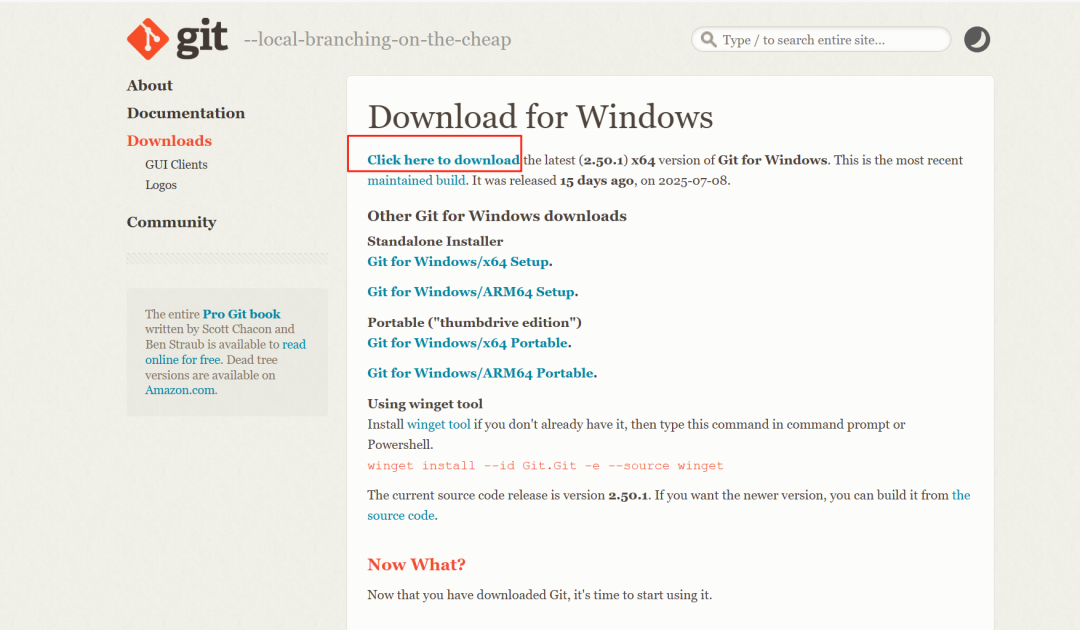
Again, choose the appropriate version for your computer to download.
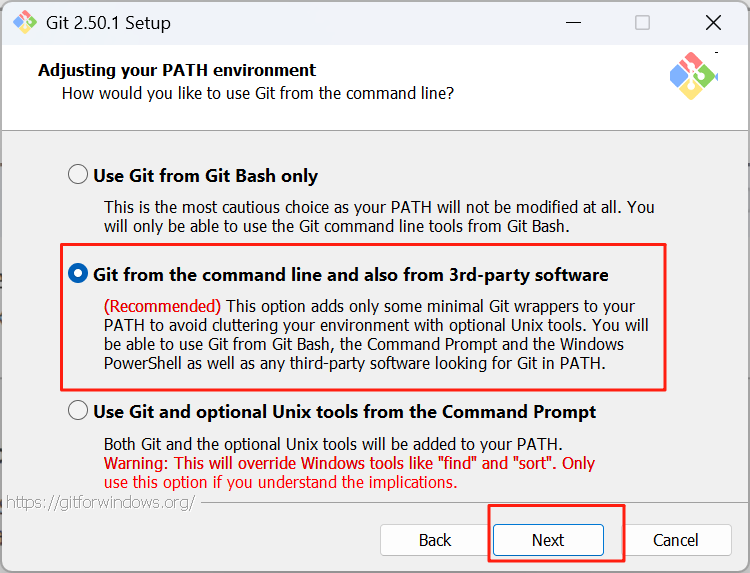
Git The installation process is very simple, keep the default settings, all the way to click "Next" can be.
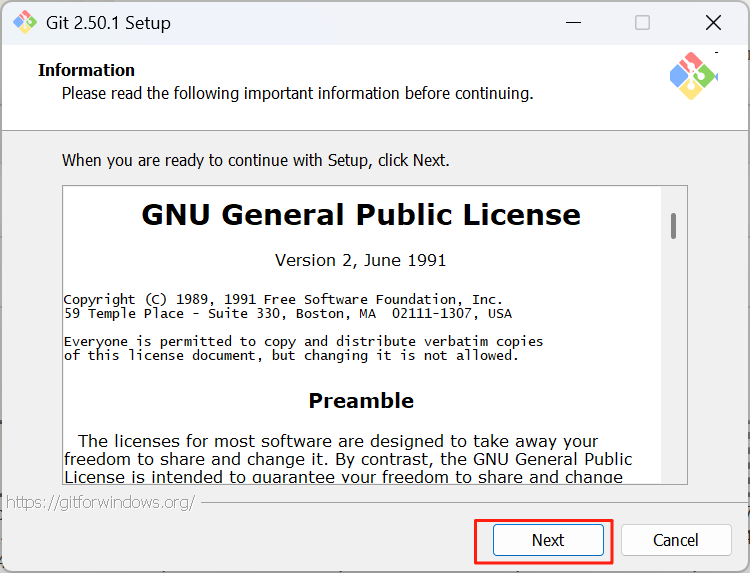
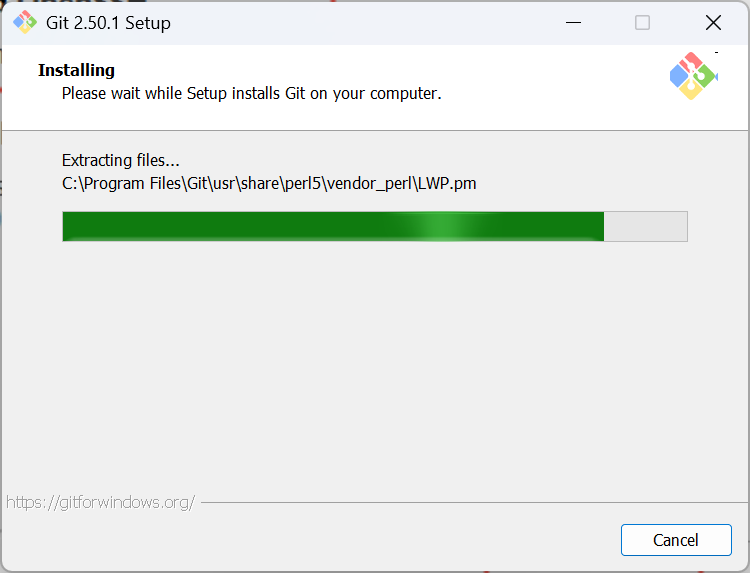
Finally, click "Finish" to complete the installation.

1.3 Completing the ComfyUI Installation
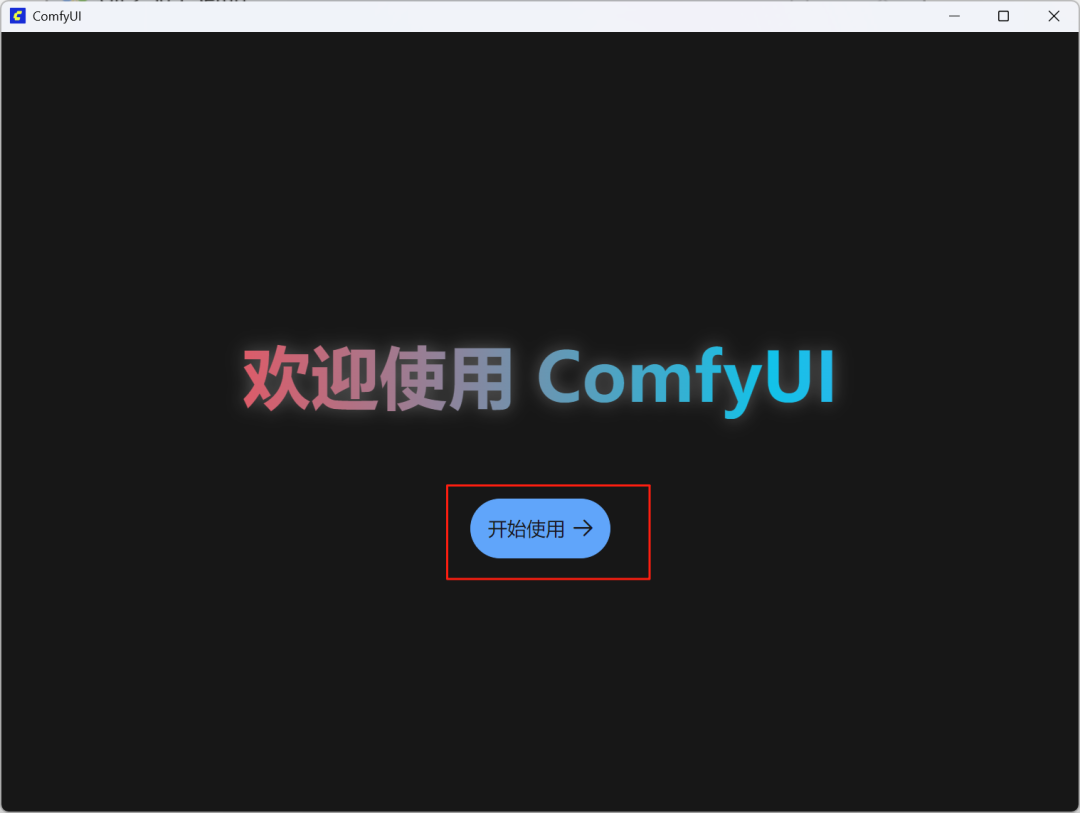
Git After the installation is complete, go back to ComfyUI Click "Getting Started" on the installation wizard.
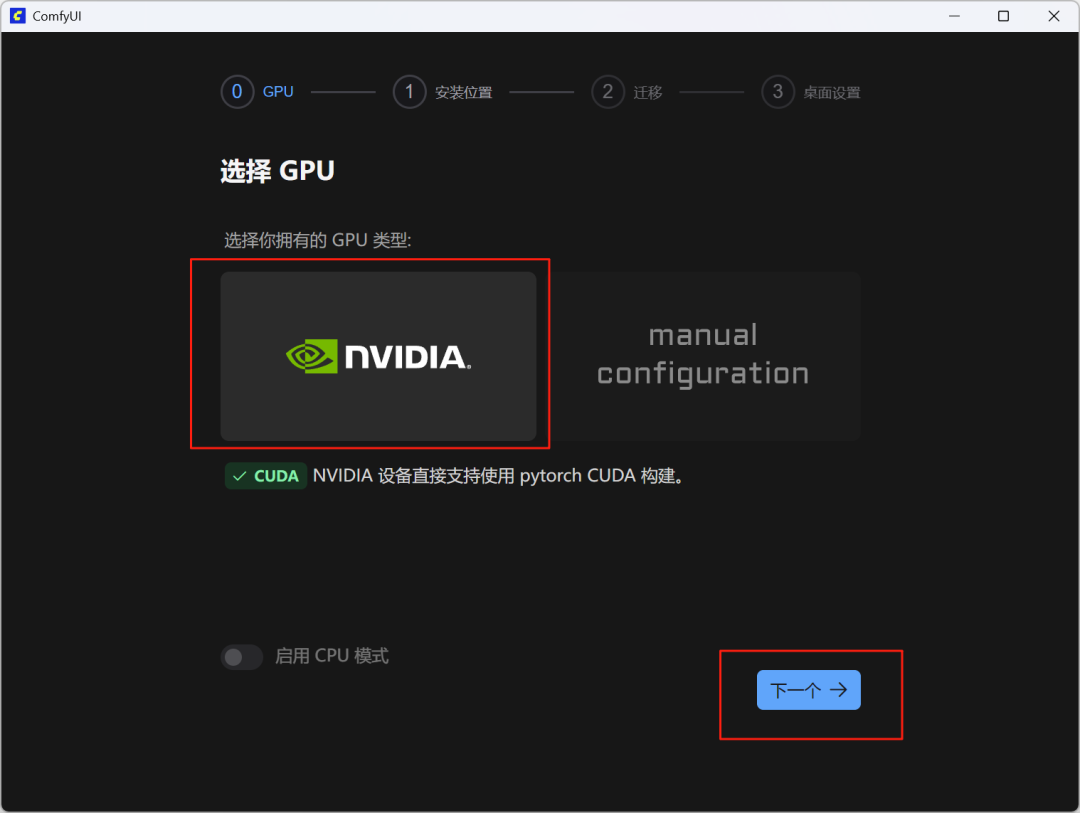
It is recommended to choose a non-system disk (such as D or E disk) with plenty of space as the installation path, because the subsequent downloaded model files will take up more space.
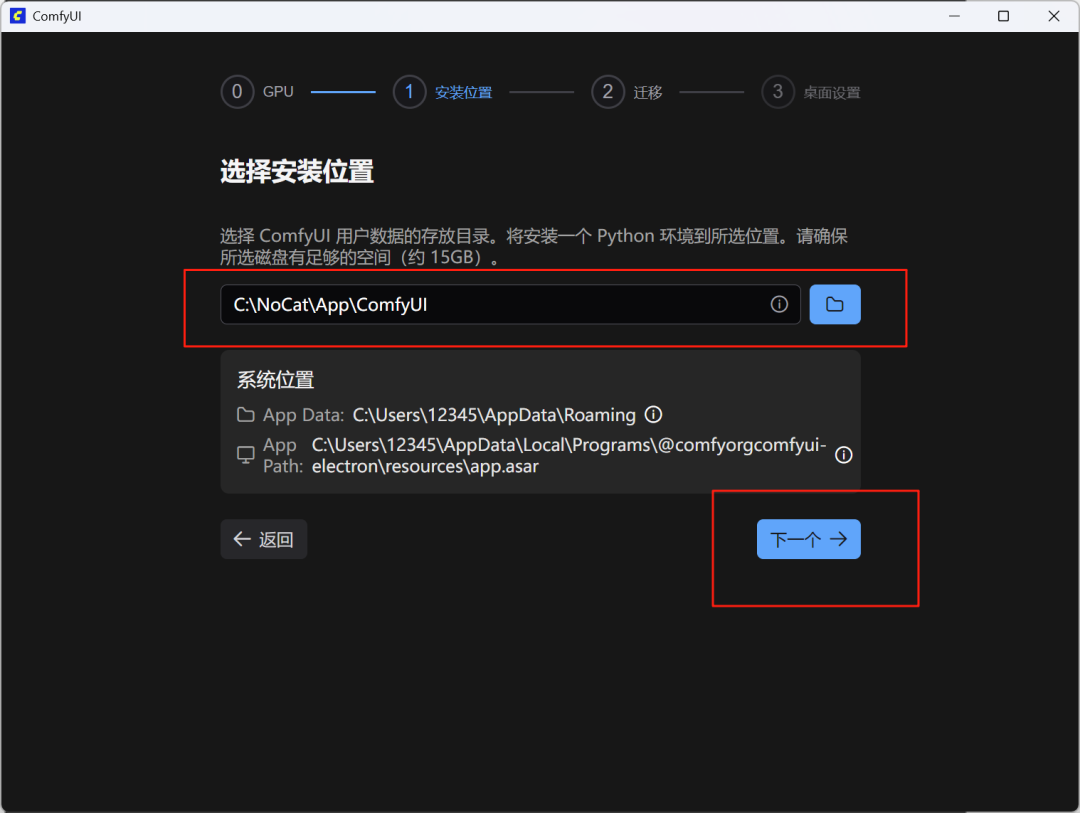
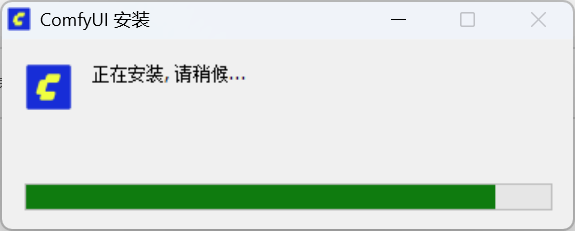
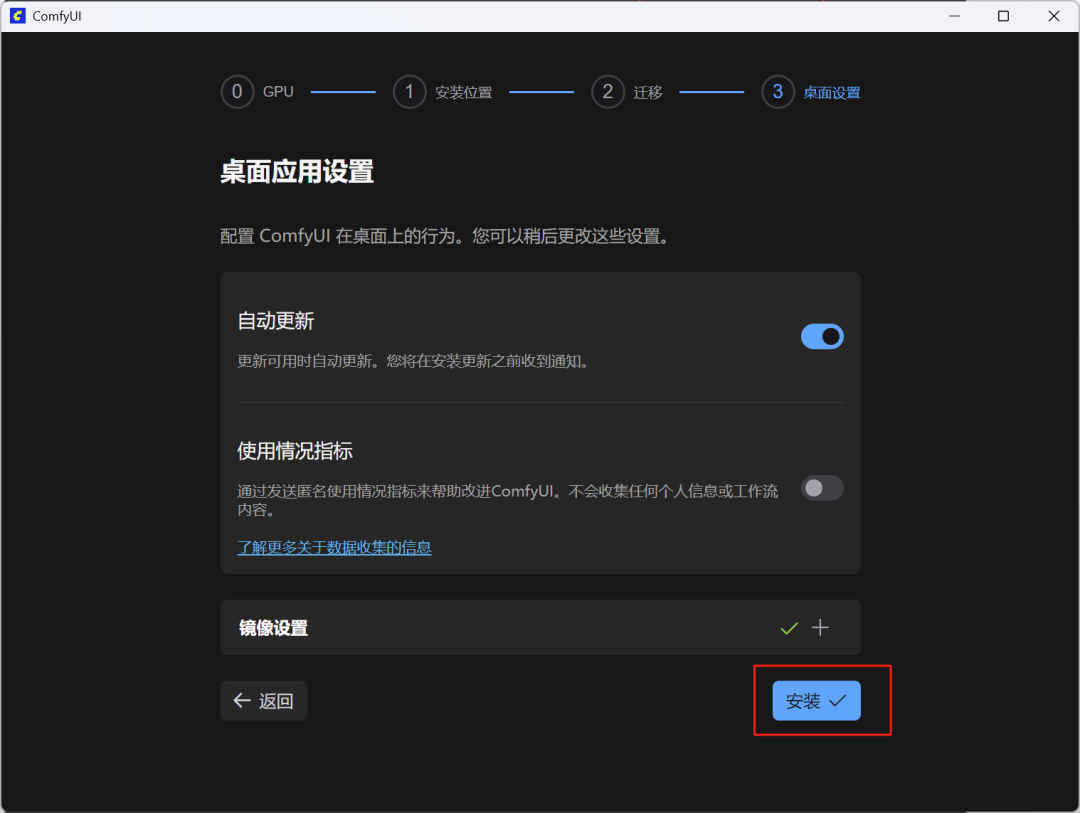
Confirm the path and click "Install".
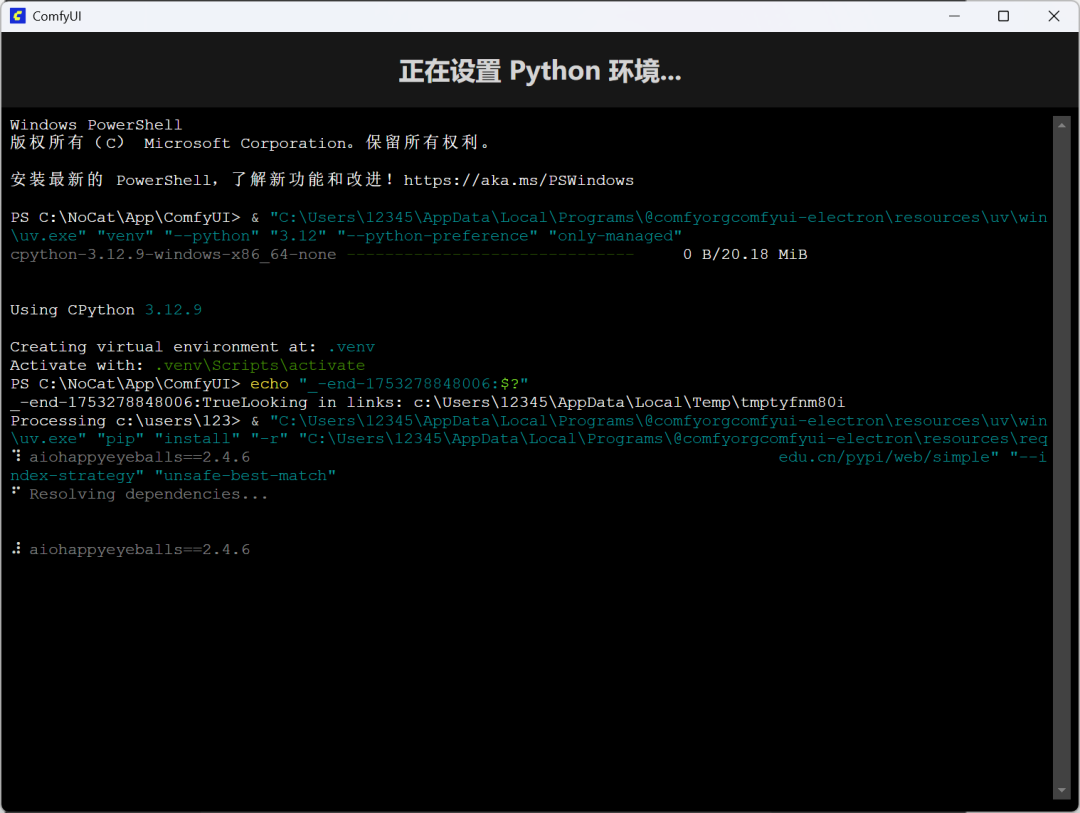
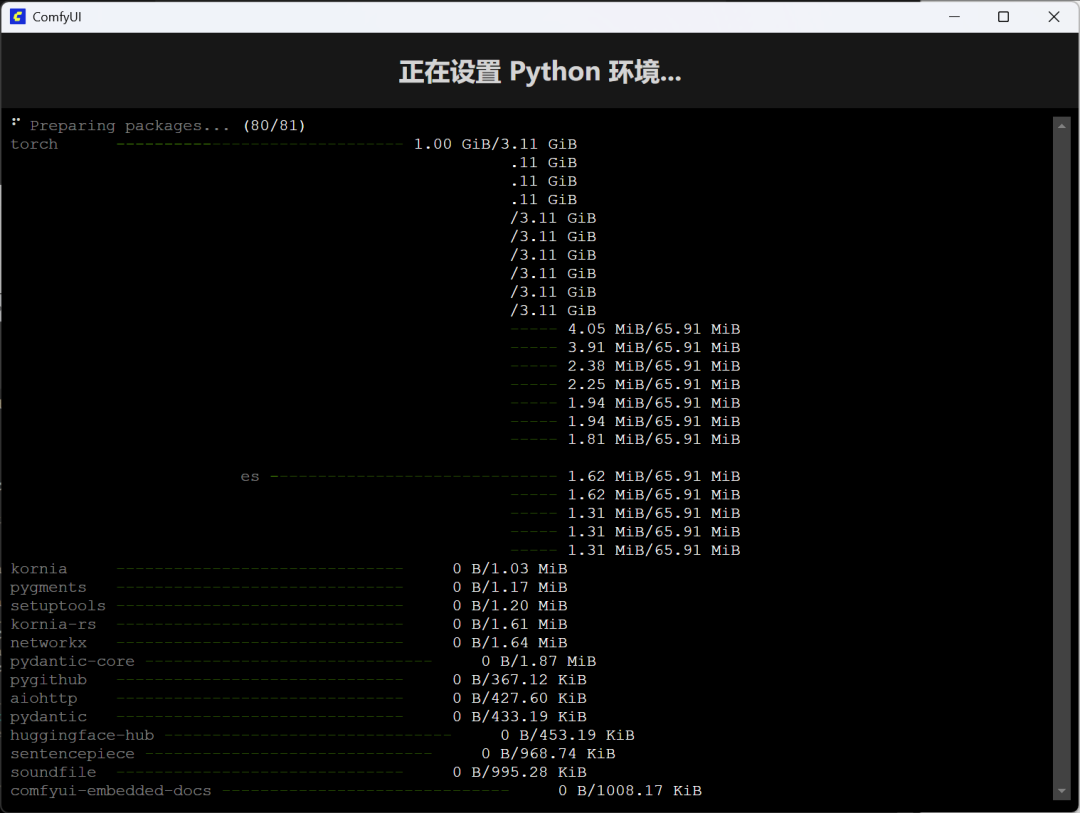
At this point, the program will automatically download and configure the required Python environment and dependency packages. This process requires several gigabytes of files to download, so make sure you have a stable internet connection and be patient.
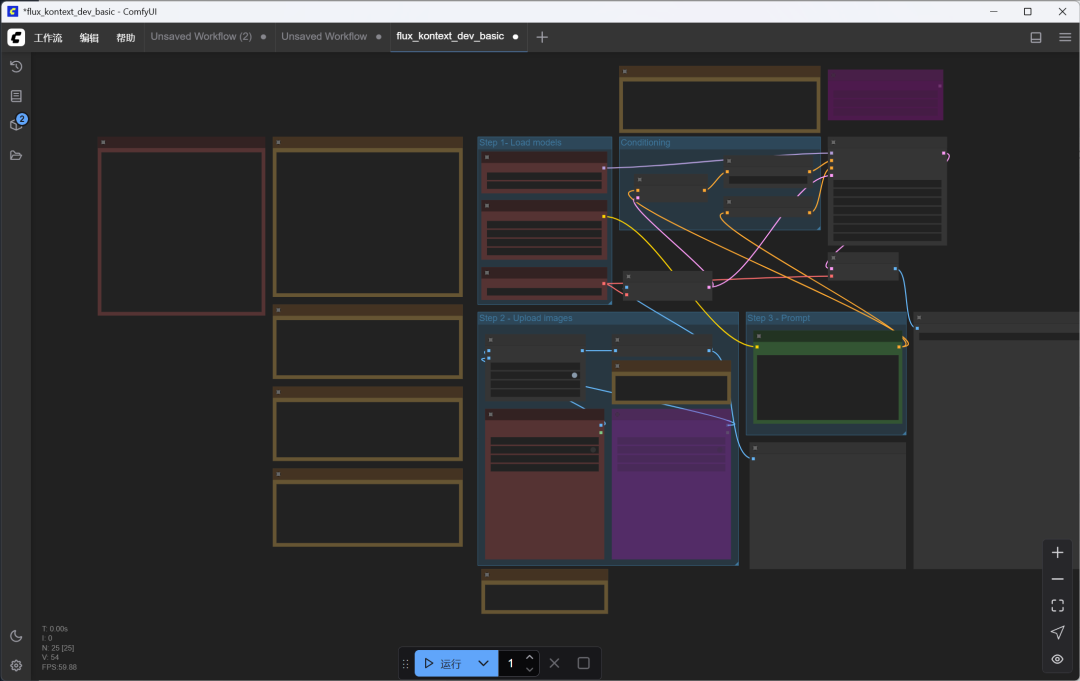
When you see the node interface as shown below, congratulations.ComfyUI It has been successfully installed and started!
Chapter 2: Deployment and hands-on FLUX.1 Kontext [dev]
The environment is ready, now start deploying the model and do a live walkthrough.
2.1 Downloading model weights
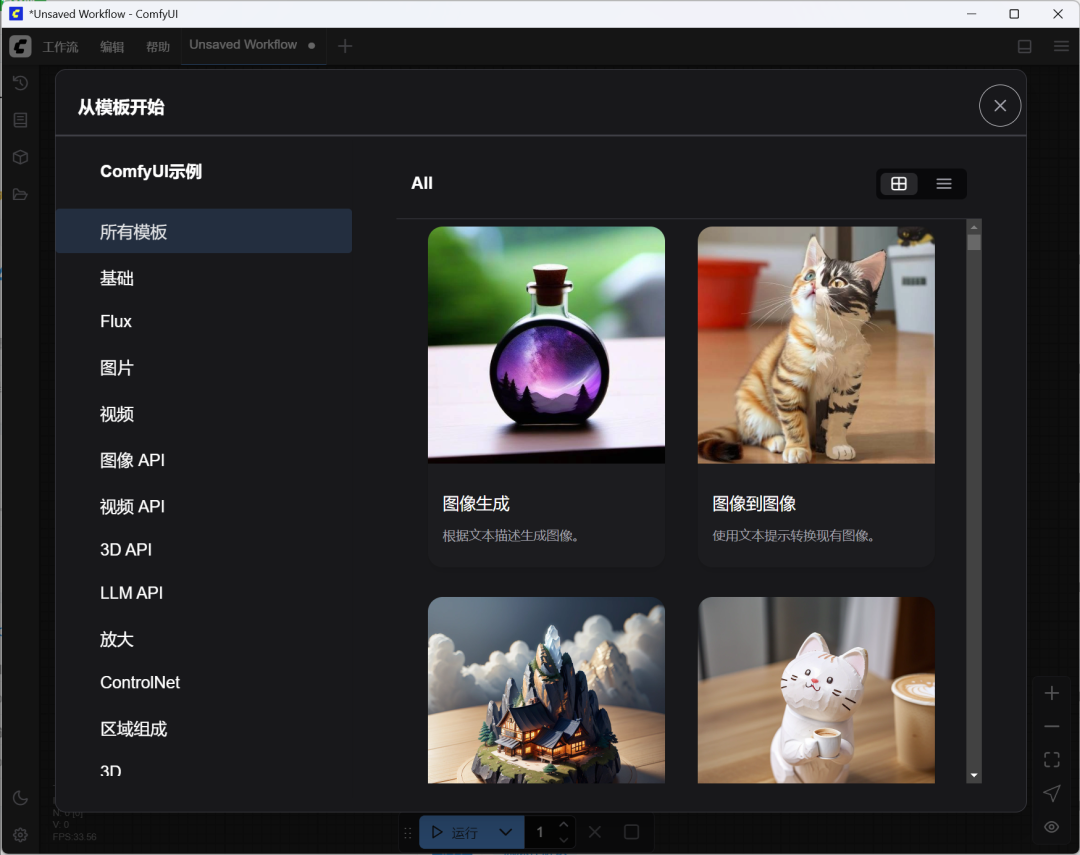
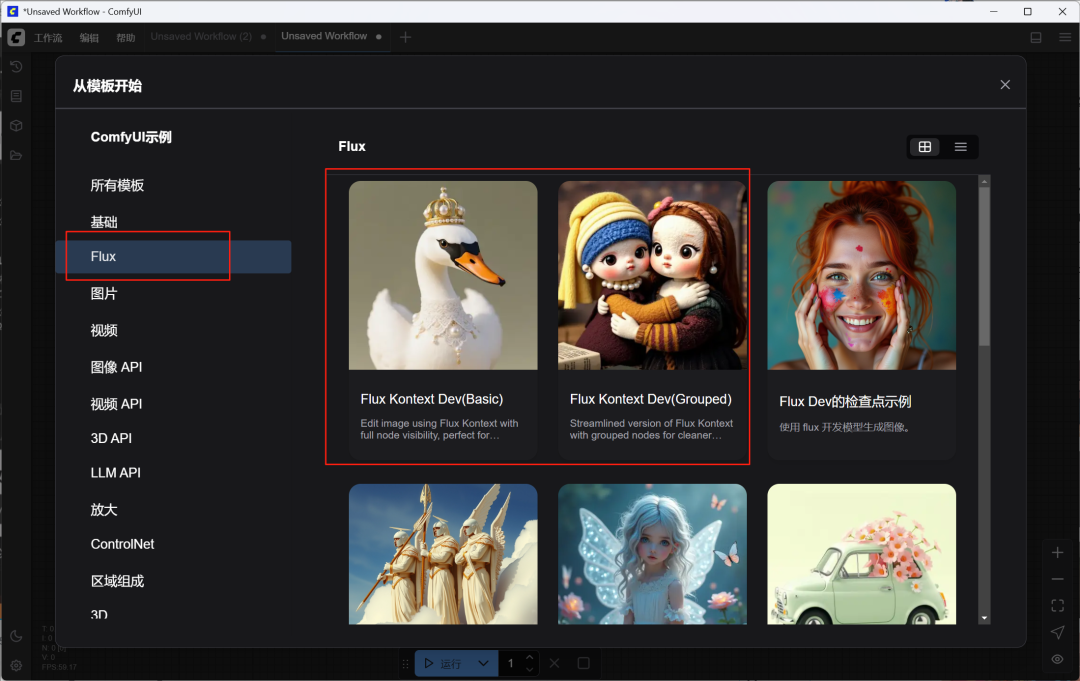
在 ComfyUI interface, select or load the preset Flux workflow, and then select Basic Version.
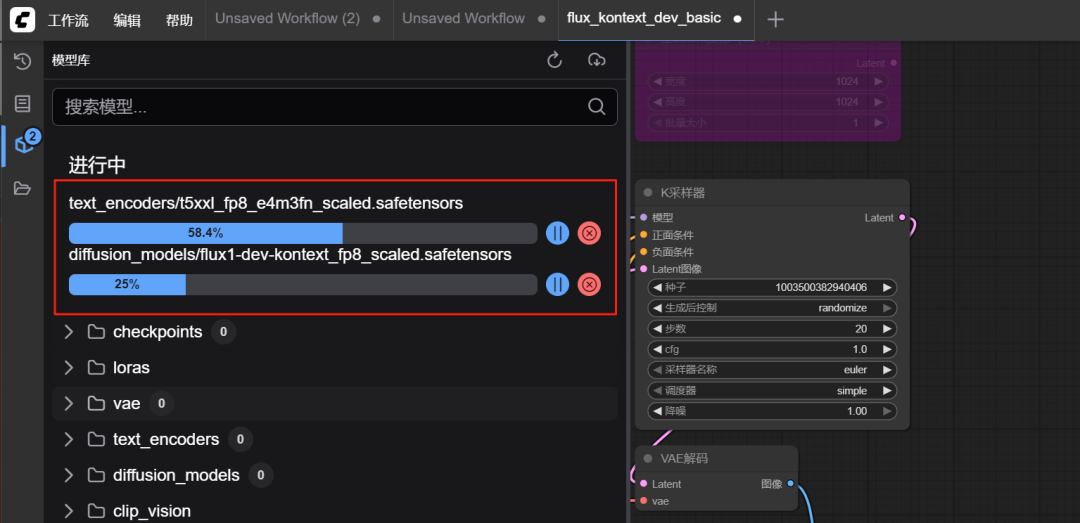
At this point, the system automatically detects the missing model file and prompts for a download. This contains the FLUX.1 Kontext [dev] of the core weights. Click to download all.
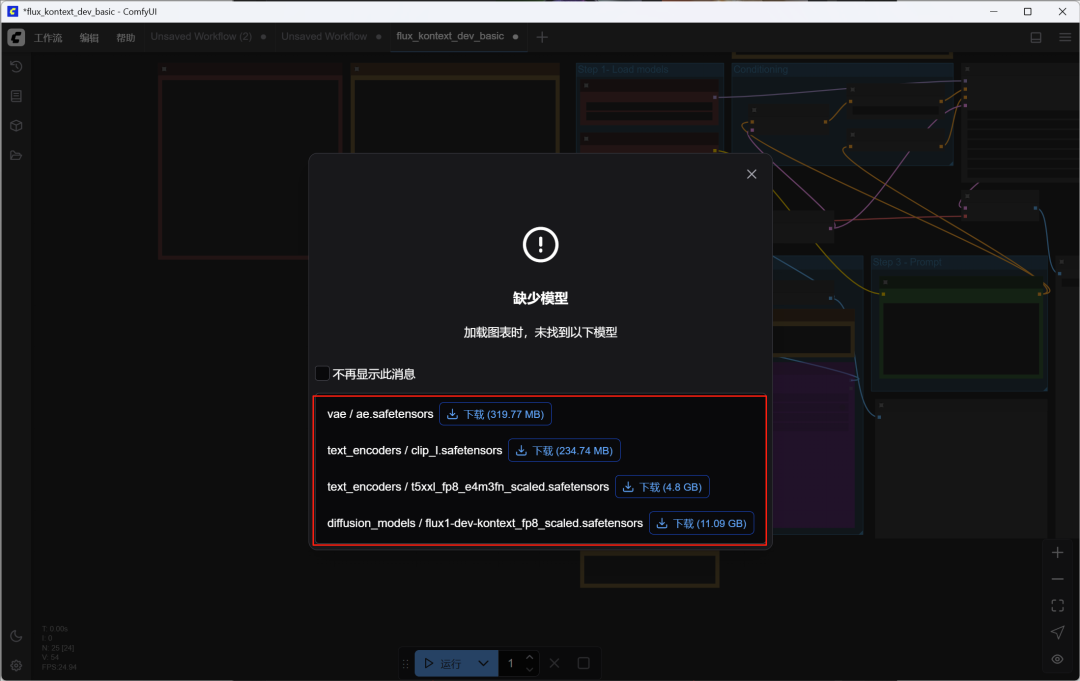
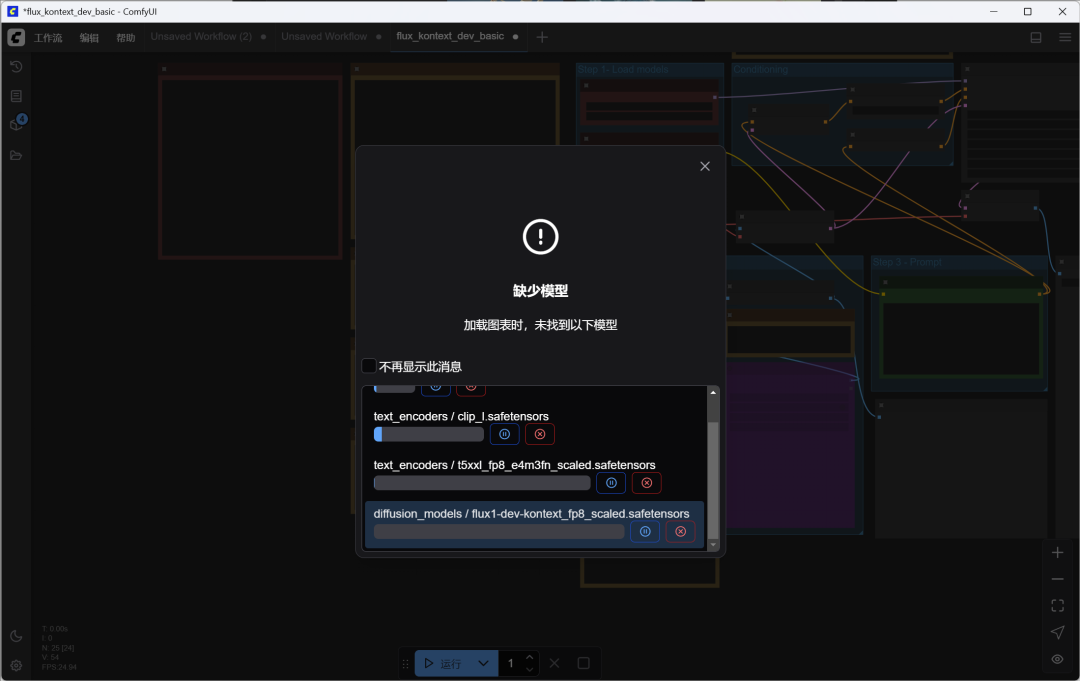
take note of: The model may still be downloading in the background even after entering the node operator interface.
You can confirm that all files have been downloaded by looking at the progress bar in the model loading node on the left. When all models are shown in green, it means everything is ready.
2.2 Hands-on Case 1: Single-picture editing (style and element modification)
this is FLUX.1 Kontext [dev] The most basic and commonly used functions: understanding text commands and making changes to a single image.
- 在
Load ImageIn the node, click "Select file to upload" and import an image you want to edit.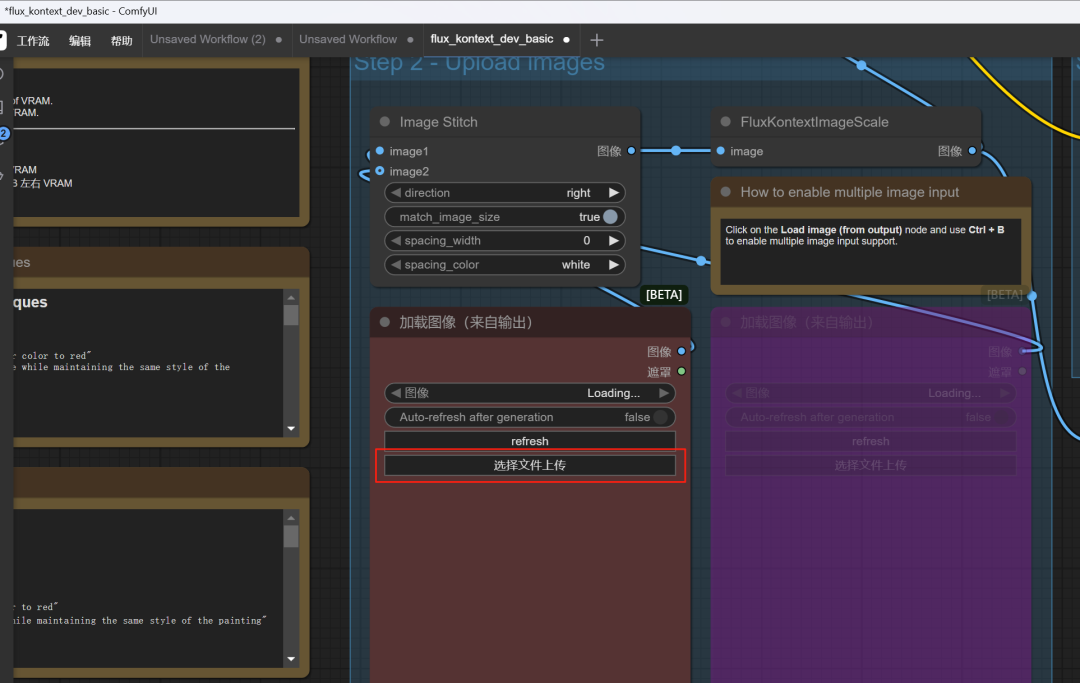
Here we upload a portrait photo.


- 在
PromptIn the input box, use theEnglish (language)Fill in your modification instructions. The training data for the model is in English, and using English will give you the most accurate execution.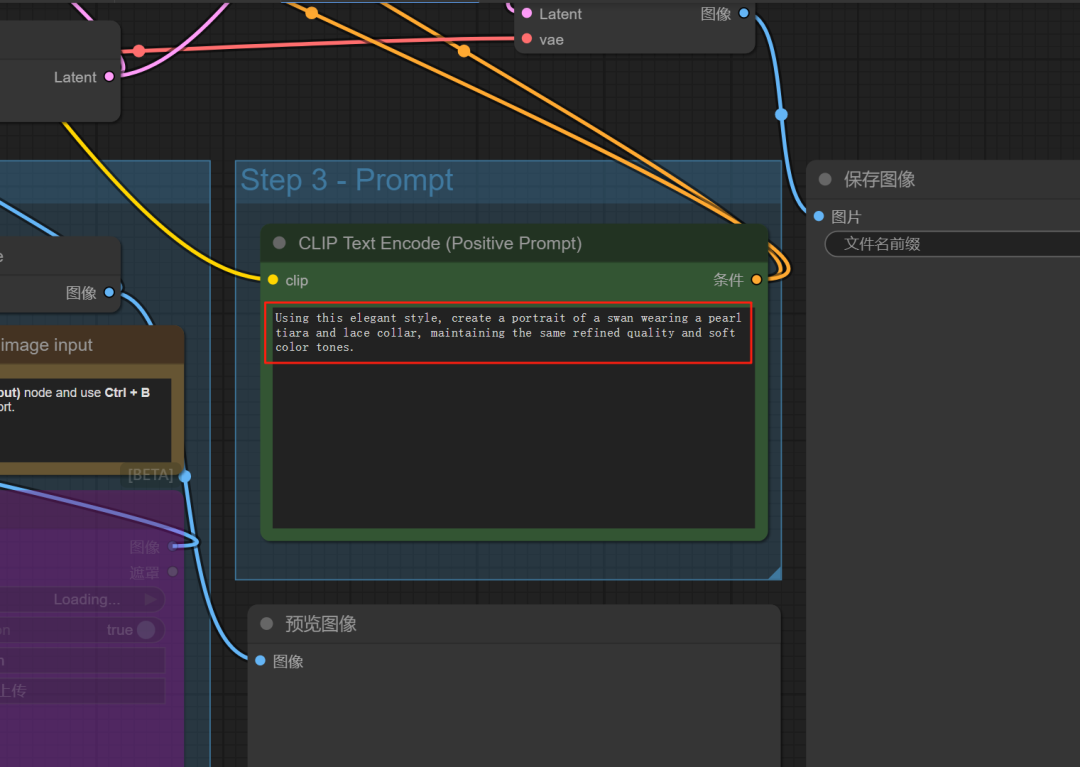
- Test 1: Style ShiftLet's try to change it to a "Ghibli" animation style. We tried to turn it into a "Ghibli" animation style by typing:
Change the style of the image to Ghibli style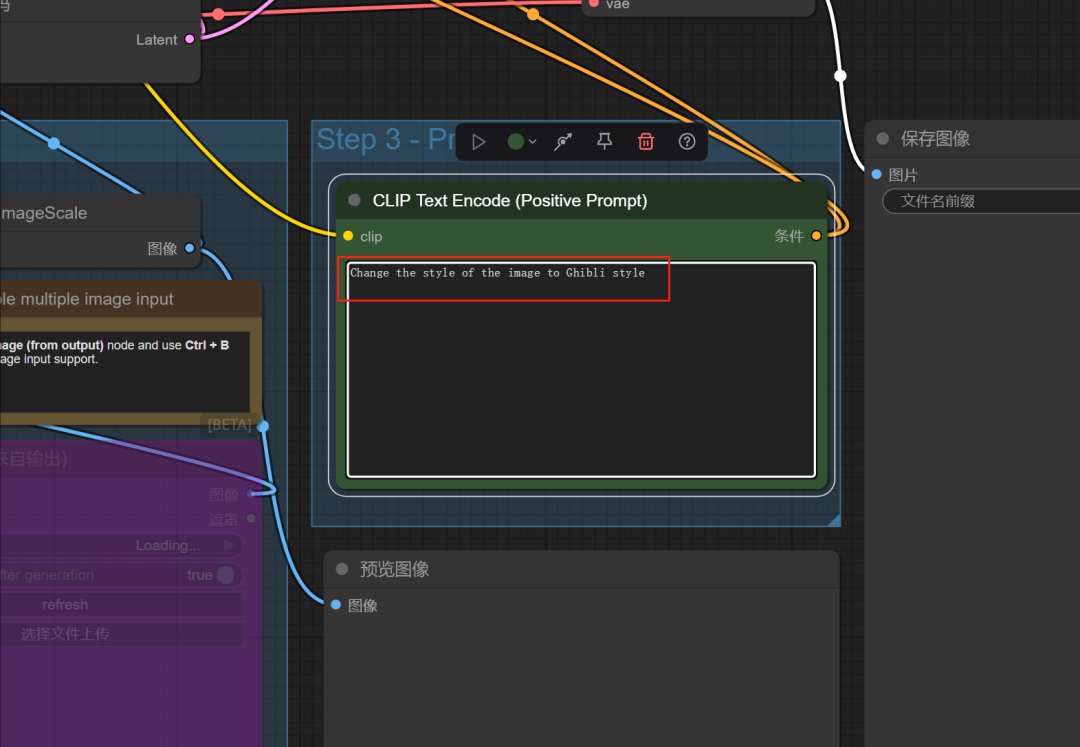
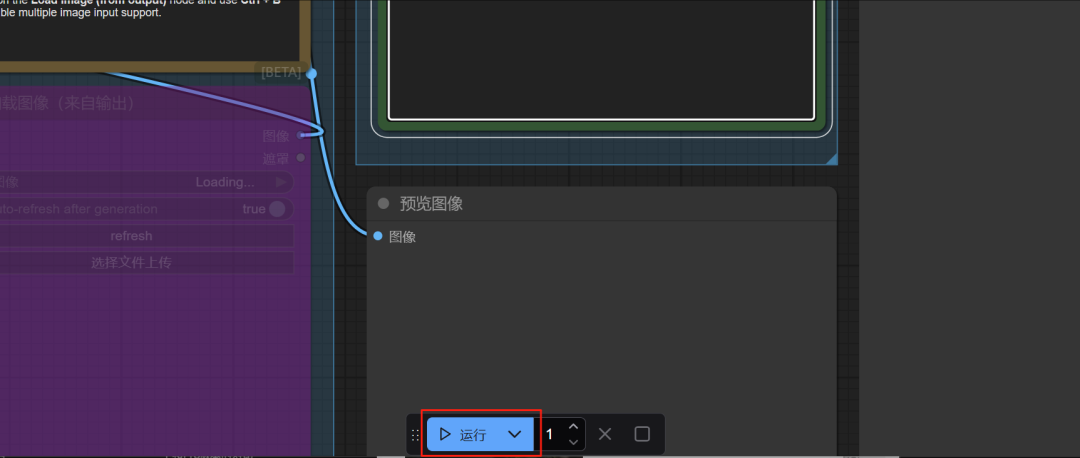
- Click the "Run" button on the right.
can be seen
KSamplerThe node (sampler) is working and shows progress.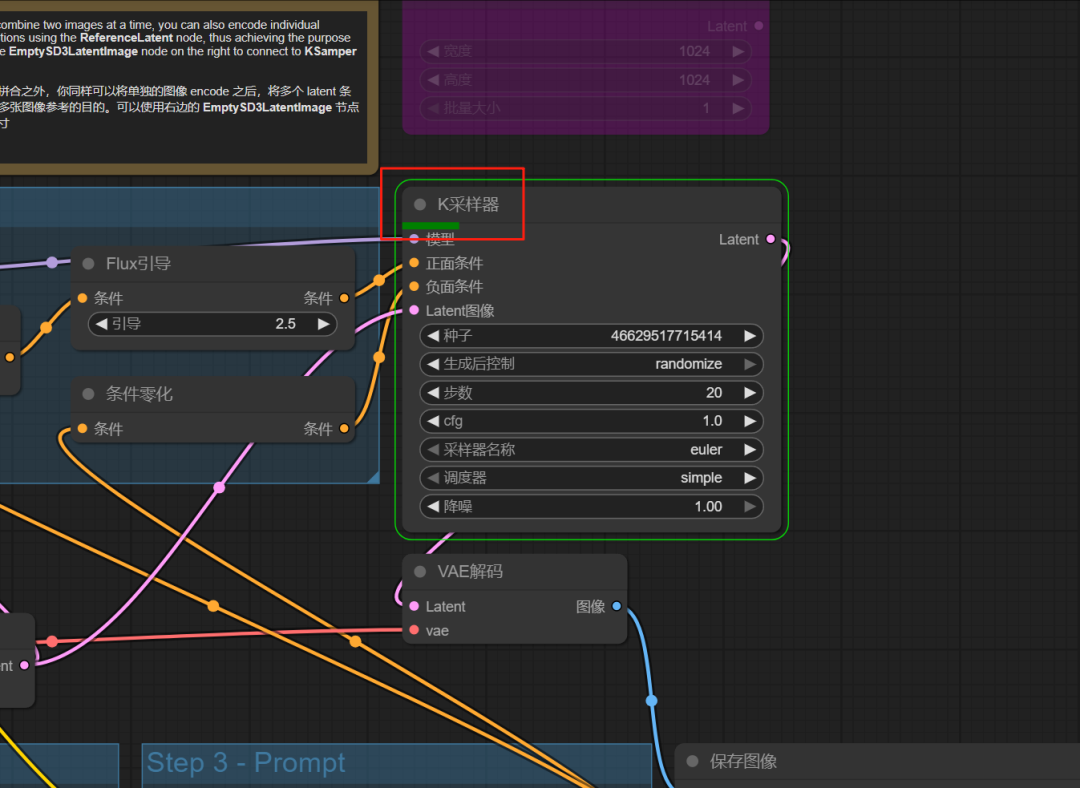
Soon, a new style of picture was generated.
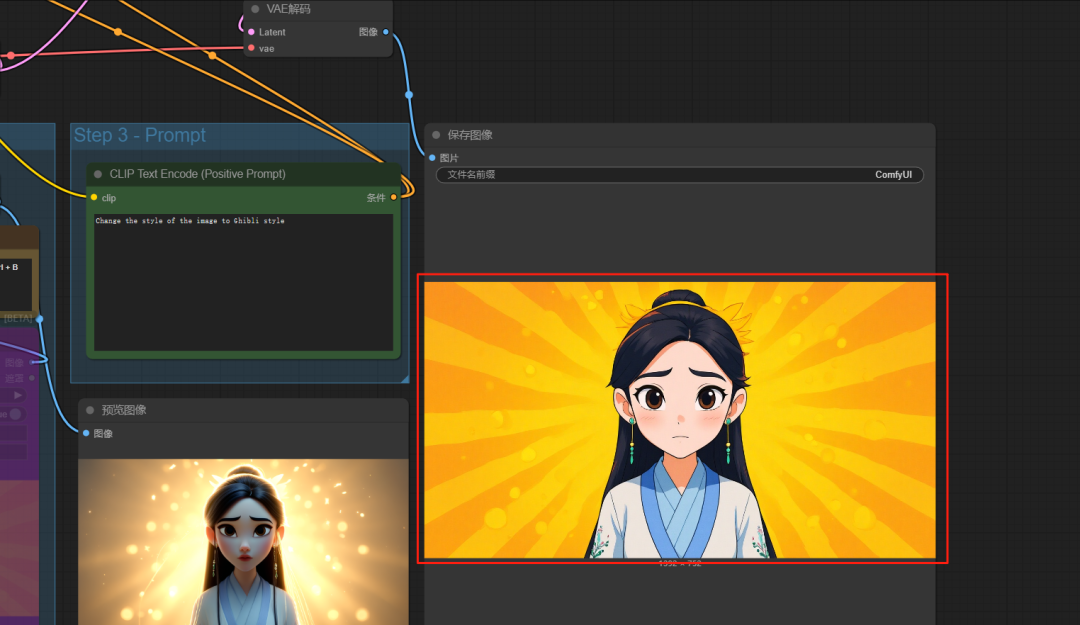
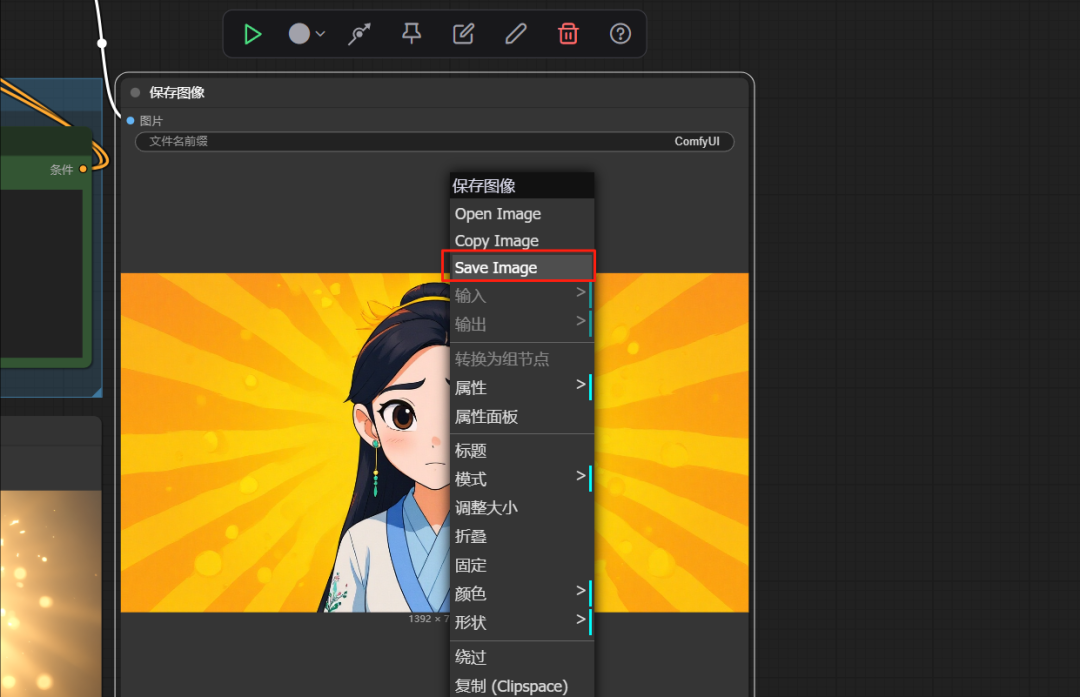
Right click on the generated image and select "Save Image" to save it.

- Test 2: Element Modification. Let's try again to modify localized elements of the picture, such as changing the dress to red, enter:
Turn clothes red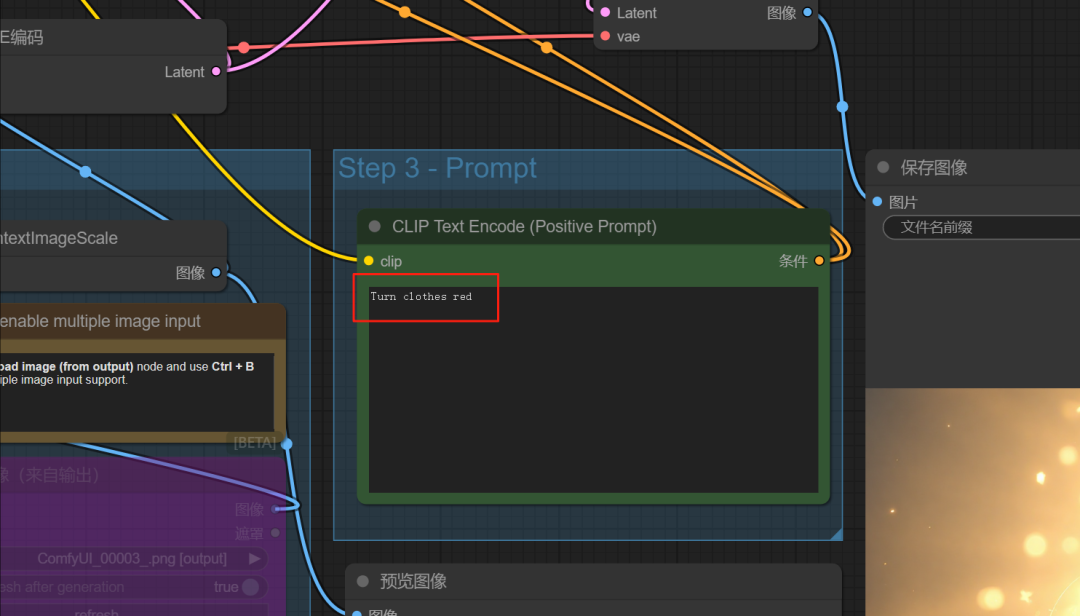
The model accurately recognizes and modifies the specified object.

2.3 Hands-on Case 2: Multi-graph Fusion (Contextual Understanding and Creation)
This section will show Kontext The essence of the term - how the model understands and incorporates multiple independent "contexts" (i.e. multiple images and texts).
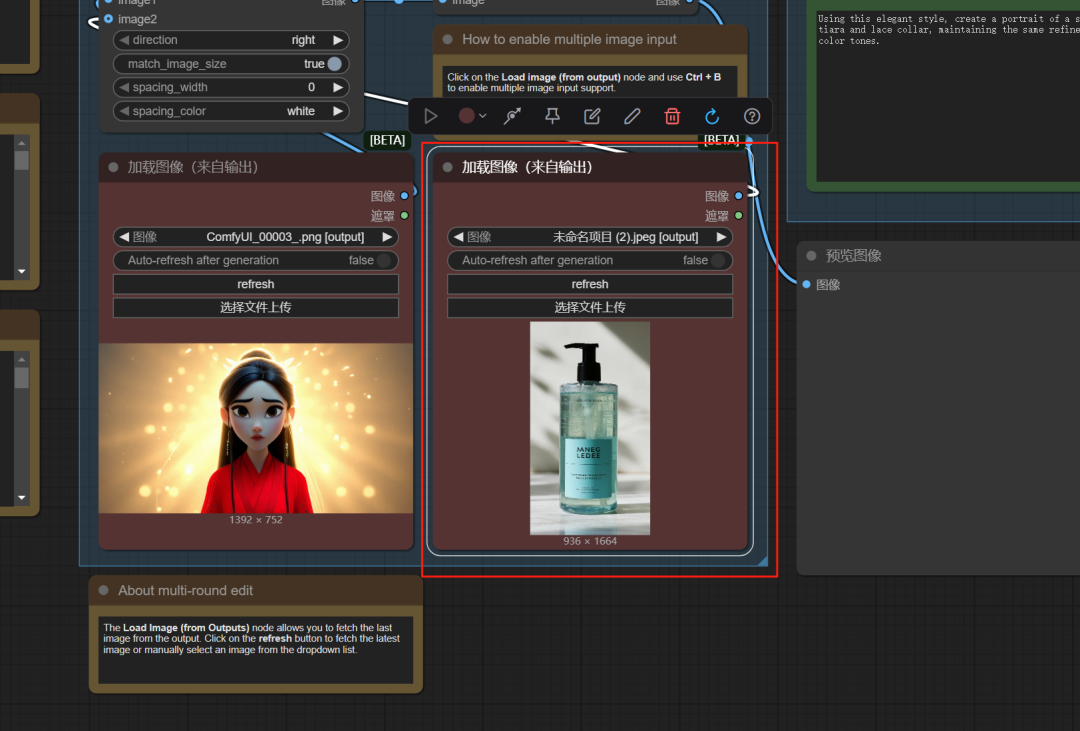
- Activate the second image input node. In the workflow, find the second
Load Imagenode (i.e., the first "purple zone" mentioned in the original article), which is by default in theBypass(Bypass) status. Right-click on it and selectEnable Node(or use shortcut keys)Ctrl+B) to activate it.
- In the activated node, upload your second image, we'll use a product image of a shower gel as an example.

- Activate and connect fusion nodes. Find the file named
FLUXCombiner(i.e. the second "purple area" mentioned in the original article), and activate it as well.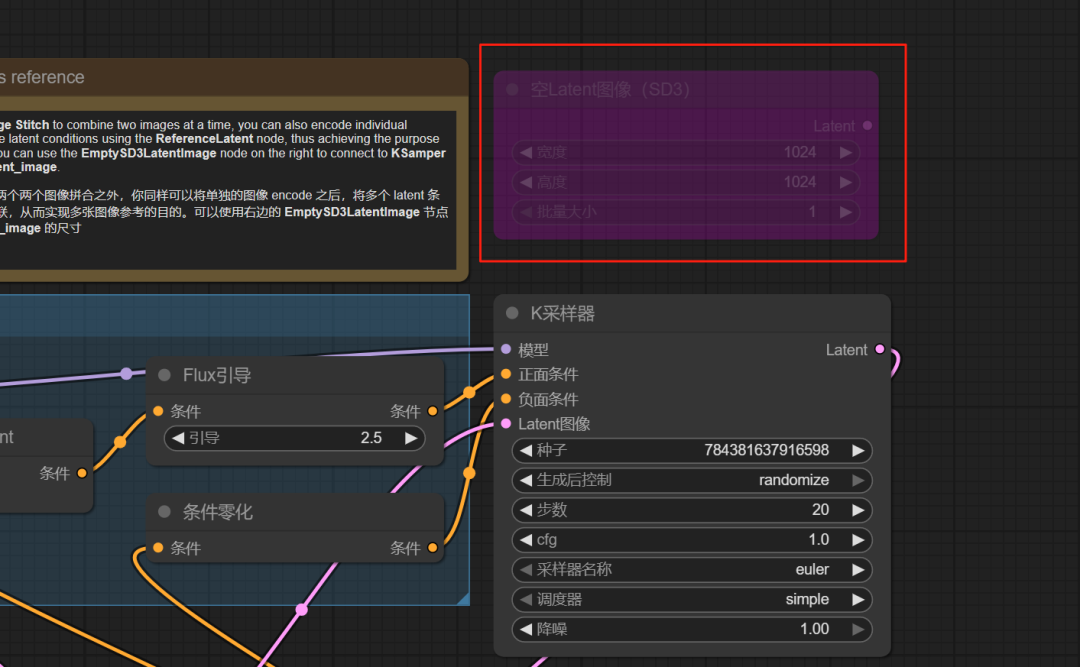
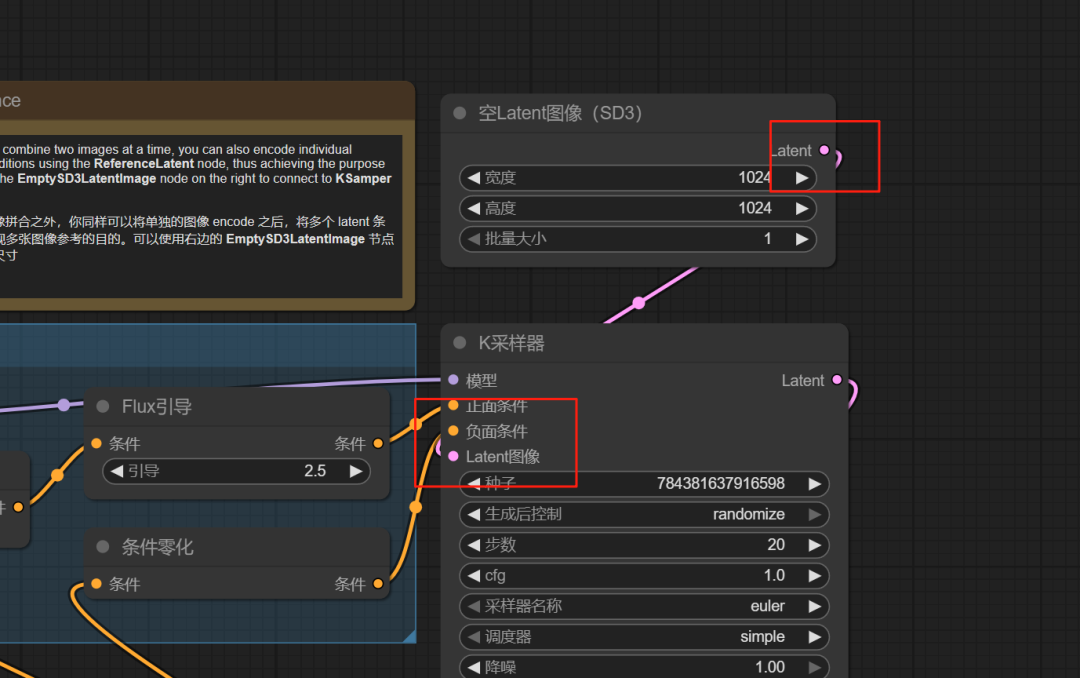
- Establishment of data flow. From the second
Load ImagenodalIMAGEoutput port, hold down the left mouse button and drag a connection cable to theFLUXCombinernodalimage_2Input Port.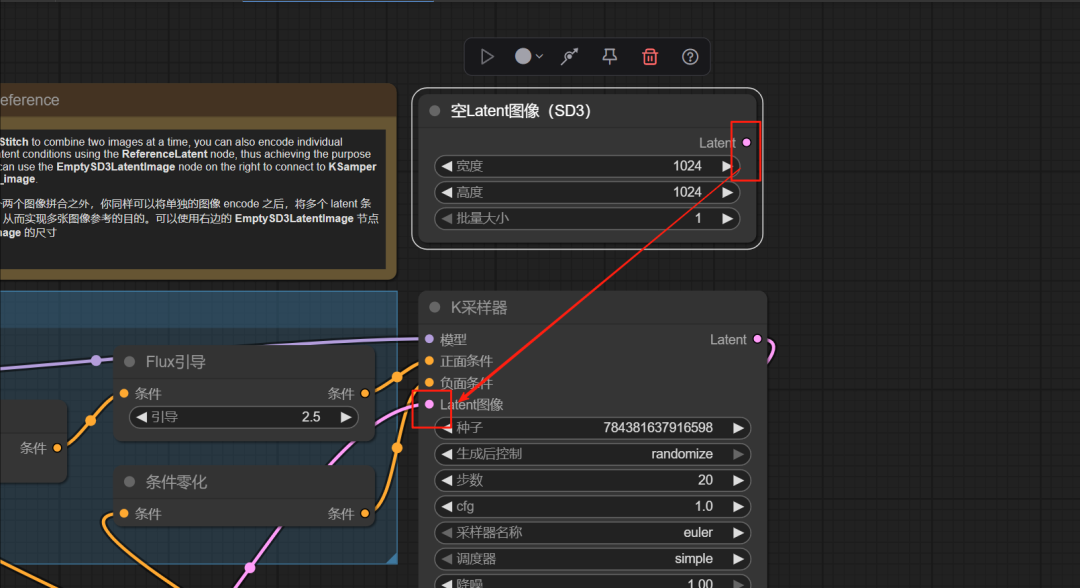
After the connection is complete, the data stream looks like this. This represents the visual information from both images that will be fed into the fuser.
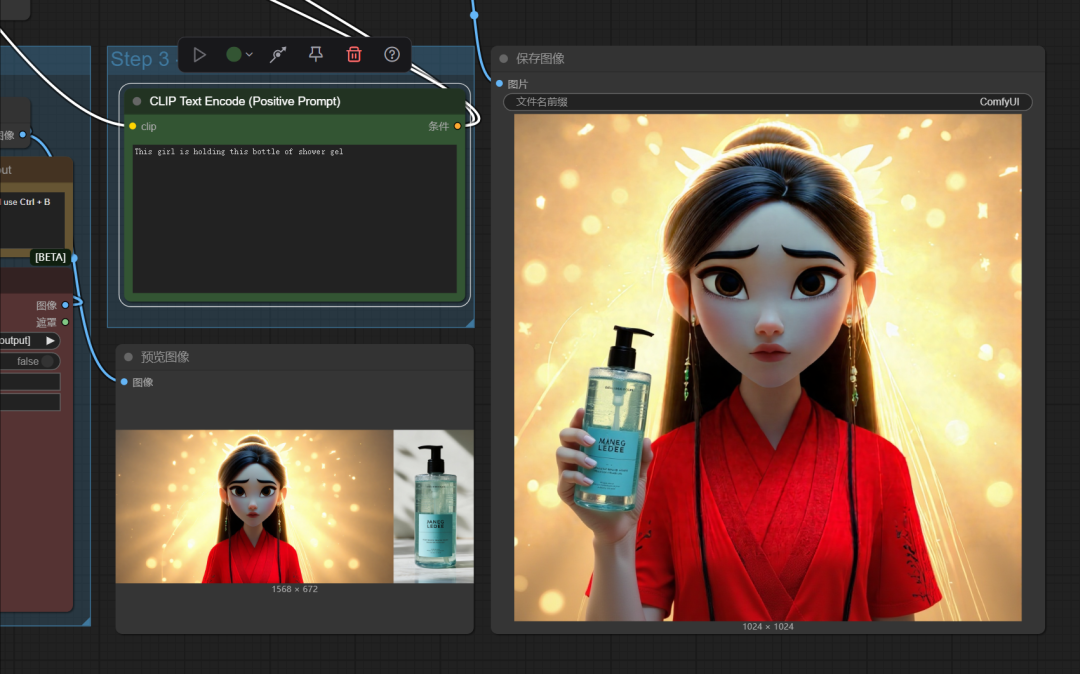
- Give the fusion order.. Now, give a textual command that can describe the relationship between two pictures:
This girl is holding this bottle of shower gel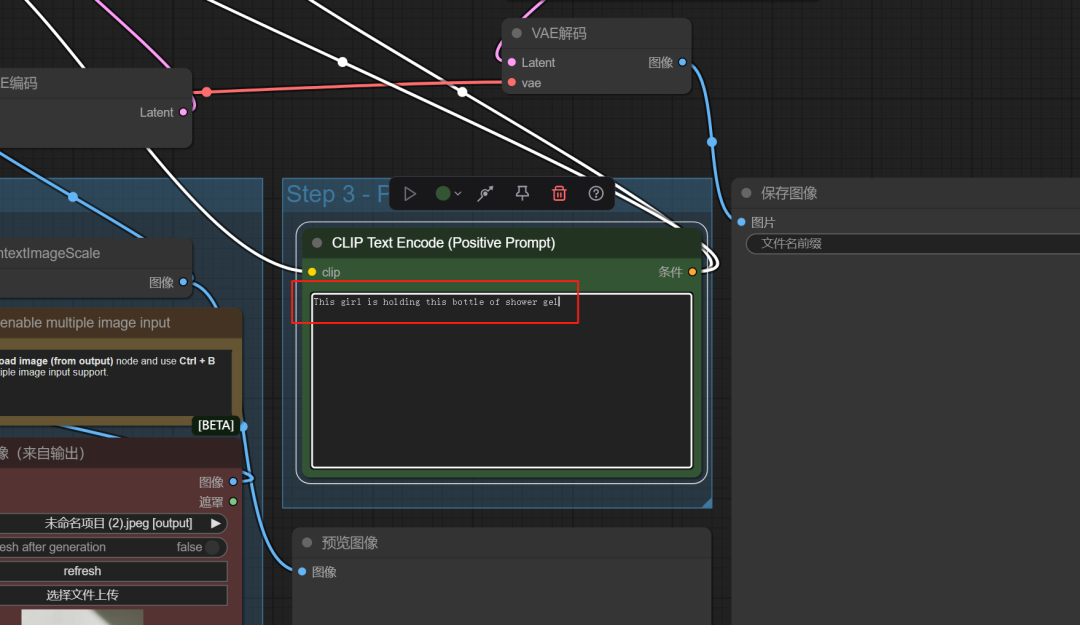
- Click "Run". The model understands the textual commands and extracts the visual concepts of "girl" and "shower gel" from the two input images, ultimately generating a new, logically self-contained scene.

At this point, you've mastered the art of using free local FLUX.1 Kontext [dev] A way to perform basic and advanced image editing. This is just the beginning, with its powerful capabilities and open source nature, it offers endless possibilities for every creator's imagination.