interview-coder-cn is a programming interview assistance tool designed for Chinese-speaking users. It analyzes on-screen programming questions in real-time by invoking artificial intelligence models and provides solutions and reference code. The core design of this tool is to help users get instant help when conducting online programming written tests or video interviews. Its interface can remain hidden during screen sharing, and its semi-transparent top window will not interfere with the user's operation on the question and answer page, thus effectively avoiding "jump off the page" detection. It can be used in a wide range of programming languages and question types with simple configuration.
Function List
- Screenshot Analysis: Users can customize shortcuts to quickly intercept the content of a topic in any area of the screen.
- AI real-time answers: After intercepting a question, the tool automatically sends the image to a large language model for analysis and returns the solution and complete code implementation within seconds.
- Windows invisible: When using mainstream conferencing software such as Tencent Meeting for screen sharing, the tool's window will be automatically hidden and unnoticeable to the interviewer.
- Anti-focus Top: The software interface will be displayed on the top of the screen with a semi-transparent effect, which will not seize the focus of the mouse and keyboard, so that users can write code directly on the written test web page, avoiding triggering the system's anti-cheat alarms due to window switching.
- Supports multiple question types: Optimized primarily for algorithmic questions, but with the same support for analyzing and answering single-choice, multiple-choice, judgmental, and short-answer questions.
- Custom extensions: Users can modify or add customized prompts (Prompt) in the settings to extend the application scenarios of the tool beyond programming, such as assisting in completing English online exams.
- Compatible with domestic AI ecosystem: Support access to various types of proxy service providers that meet the OpenAI API standard, which is convenient for domestic users to configure and use.
Using Help
interview-coder-cn The original design is to allow users to get AI help easily and covertly in real interview or written test scenarios. Two ways of using it will be described in detail below: downloading the installer directly and running it through the source code.
Way 1: Directly download the installation package (recommended)
For users who are not familiar with the code and development environment, directly downloading the compiled installation package is the easiest and fastest way.
- Download the installation package
- Access the project's Releases page.
- Depending on your operating system (Windows or macOS), download the installation file corresponding to the latest version (usually the
.exe或.dmg(Format).
- installer
- Windows: Double-click on the downloaded
.exefile, just follow the standard software installation process. - macOS: double-click
.dmgfile, drag the application icon to the Applications folder.
- Windows: Double-click on the downloaded
- Configuring the API
- After launching the app for the first time, you'll be presented with a settings screen that needs to be filled out with two key pieces of information:
API_BASE_URL和API_KEY。 - These two pieces of information need to be obtained from a proxy service provider that supports the OpenAI API. There are many such service providers in China (e.g. CloseAI, AIHubMix, etc.), which usually support Alipay payment, and the process of registering and obtaining API Key is very convenient.
API_BASE_URLis the address of the API interface provided by the service provider.API_KEYis your personal access key.- Fill these two values into the software's settings screen and save them. If you have direct access to the official OpenAI interface, the
API_BASE_URLYou can leave it blank and just fill in the officialAPI_KEY。
- After launching the app for the first time, you'll be presented with a settings screen that needs to be filled out with two key pieces of information:
- start using
- After the configuration is complete, the main interface of the software will change to a semi-transparent hover window.
- When a topic is encountered, press the screenshot shortcut (default is
Alt+Q(which can be modified in the settings). - At this point the mouse will become a crosshair, hold down the left mouse button and drag to frame the area of the question that needs to be answered, then release the mouse.
- The software will automatically send the screenshot to the AI for analysis, wait for a few seconds and the solution and code will be displayed in the hover window.
- You can watch the answer while writing code in the input box in the answer area, without switching windows the whole time.
Way 2: Run through source code (for developers)
If you are a developer and familiar with the Node.js environment, you can also run this project through the source code.
- Preparing the environment
- Make sure you have Node.js installed on your computer.
- utilization
gitClone the project code locally:git clone https://github.com/ooboqoo/interview-coder-cn.git
- Installation of dependencies
- Go to the project root directory, open a terminal, and run the following command to install all the dependency packages required by the project:
npm install
- Go to the project root directory, open a terminal, and run the following command to install all the dependency packages required by the project:
- Configuring the API Key
- In the root directory of the project, manually create a file named
.envof the document. - Open up this file and add your
API_BASE_URL和API_KEY:API_BASE_URL="https://your-proxy-provider.com/v1" API_KEY="sk-xxxxxxxxxxxxxxxxxxxxxxxxxxxxxx" - Please replace the address and key above with your own authentic information obtained from the service provider.
- In the root directory of the project, manually create a file named
- triggering program
- Run the following command in the terminal to start the application in development mode:
npm run dev - After the program is launched successfully, the procedure is exactly the same as using the installer. Take a screenshot with the shortcut key and then view the result in the hover window.
- Run the following command in the terminal to start the application in development mode:
Special note on stealth capabilities
The stealth function of this tool relies on platform-specific window management mechanisms. It has been tested in most mainstream meeting and screen sharing software (e.g. Tencent Meeting, Nail, Flybook) and can do effective hiding. However, it is not guaranteed to work properly in all niche software or specific browser environments. Therefore, before you officially use it, it is highly recommended that you test it on your own, for example, by opening a test meeting with a friend and sharing the screen to confirm whether the stealth function is effective or not, so as to avoid accidents at critical moments.
application scenario
- Online Programming Written Exam
When taking an online written test from a company, the platform usually has anti-cheating mechanisms in place, such as detecting if the user switches windows or leaves the page.interview-coder-cnThe hover window design allows you to view the solution without leaving the answer page, thus reducing the risk of triggering anti-cheat alerts. - Video Technical Interview
In a remote video interview, the interviewer may ask you to share your screen and write code live. At this time, you can utilize the tool's stealth function. Even if the screen is shared, the interviewer can't see the interface of this assistive tool, while you can get real-time inspiration for solving problems and code hints. - Algorithm learning and practice
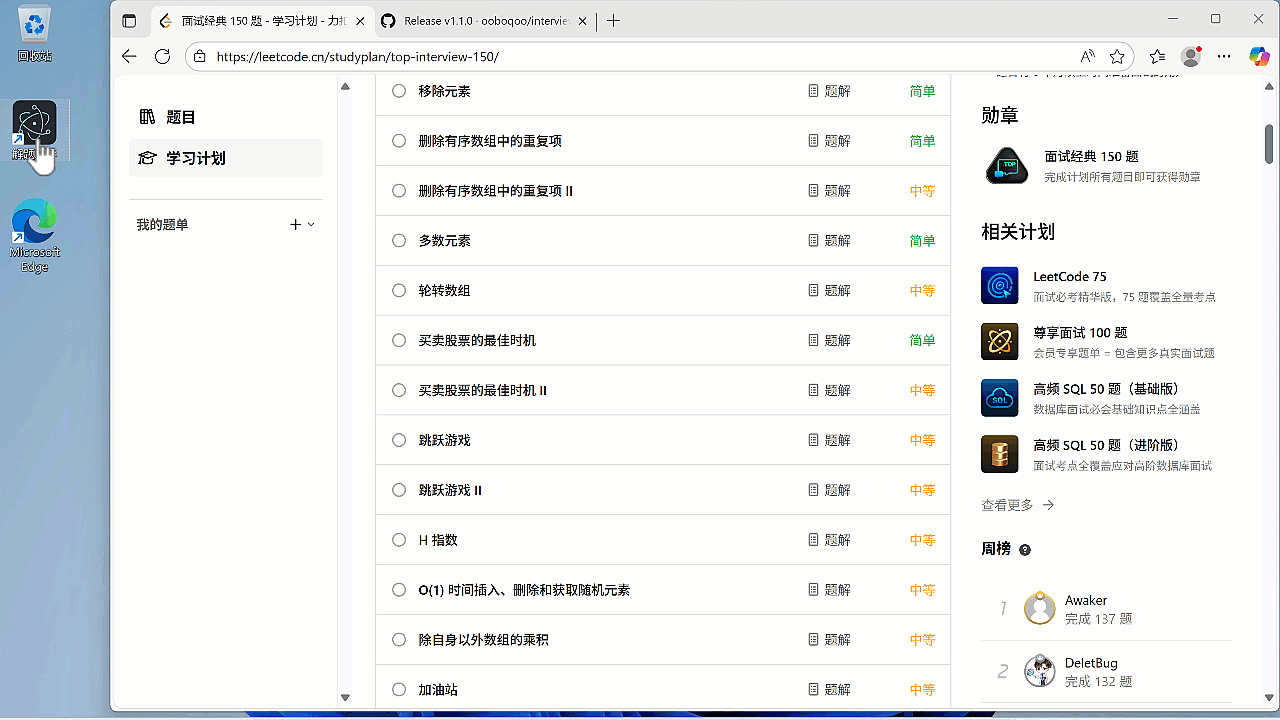
When brushing up on questions on platforms like LeetCode, you can use this tool to get quick access to answers and different solutions. It's more straightforward than searching for solutions online, and can help you save time and focus more on understanding the algorithm itself. - Extended Application Scenarios
By modifying the "Custom Prompt Words" in the software settings, you can let the AI perform different tasks. For example, when you take an online English test, you can turn it into an English question-answering assistant by changing the prompt to "Please analyze the questions in the screenshot and give the correct answers and explanations".
QA
- Is there a charge for this tool?
The project itself is open source and free, but it relies on a third-party large language modeling service, so you'll need to pay the service provider offering the API to call the model. However, for regular interview and written test usage, this fee is usually low. - Will I be caught using this tool?
The tool is designed with stealth and anti-focus features designed to minimize the risk of detection. In mainstream screen sharing software, its window is invisible. At the same time, because there is no need to switch windows during operation, it also avoids triggering the "pop-up" detection of the pen-testing system. However, no tool can guarantee that 100% is safe, so please be sure to test it yourself before using it. - What programming language titles are supported?
Theoretically, it supports all mainstream programming languages, including but not limited to Python, JavaScript, Java, C++, Go, etc. The AI model will automatically determine and generate the code of the corresponding language according to the content of the question. - What if the answer given by the AI is wrong?
The AI's answers, while highly accurate, are not absolutely correct. The ideas and code it provides should be used as a reference. Before adopting it, you need to make your own judgment, debugging and modifications to ensure that the code works correctly and passes all test cases.