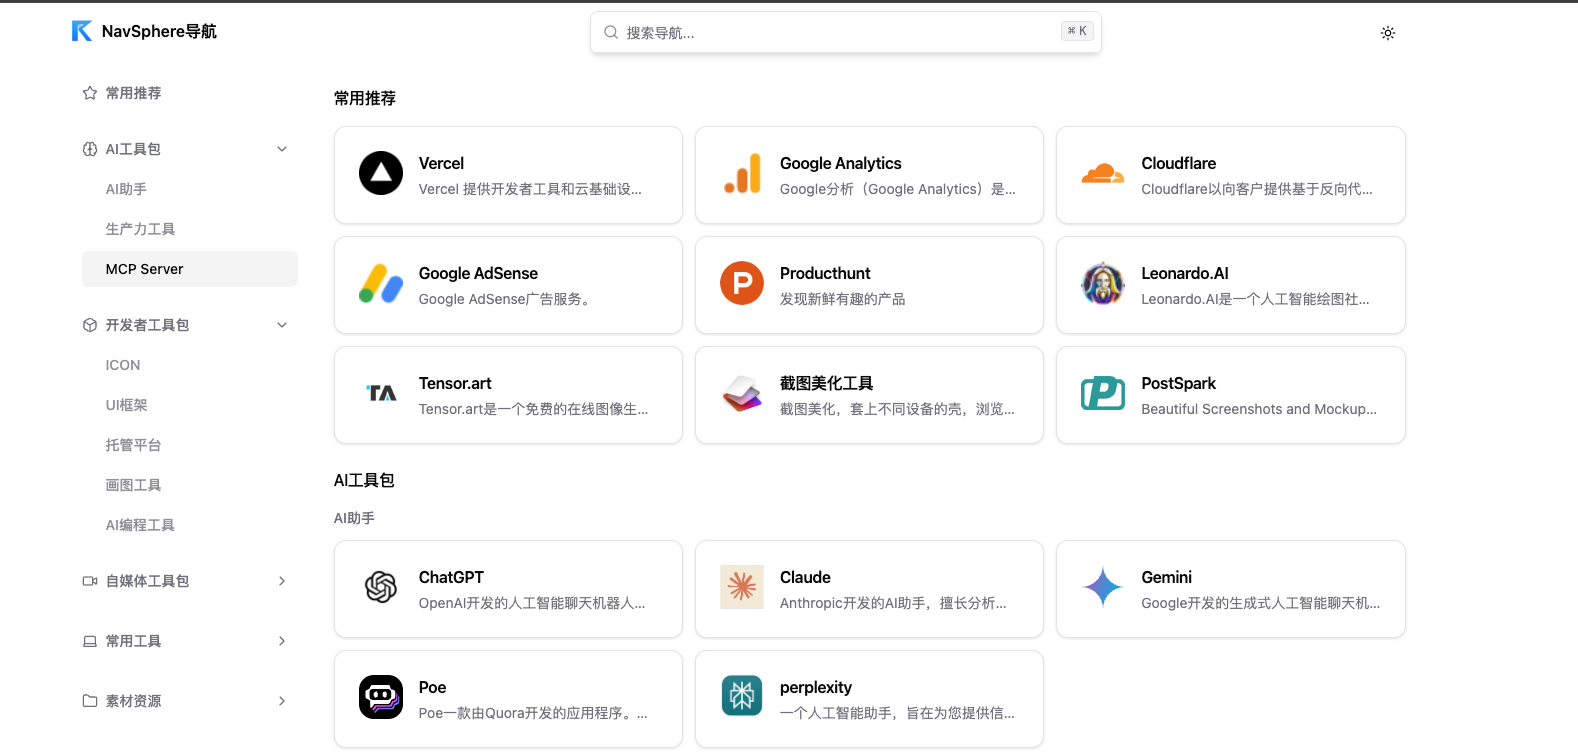
NavSphere is a modern navigation URL management platform developed using the currently popular Next.js 14 technology framework. The most important feature of this project is that it does not rely on traditional databases, but cleverly stores users' navigation data, website configuration and other information in the form of files directly in a designated GitHub repository. This design not only guarantees the security of the data, but also allows every modification to have a history to check. Once users are authorized to log in through their GitHub account, they can easily manage their navigation links and categories with drag-and-drop on the webpage. The project is designed to be adaptable for different devices such as cell phones and computers, and supports both light and dark interface themes. For developers or users who want to get started quickly, NavSphere provides a detailed deployment guide, which can be deployed on platforms such as Cloudflare Pages or Vercel with a single click to quickly build a personalized navigation portal of your own that can be accessed quickly from anywhere in the world.
Function List
- modern technology stack: The project is built on Next.js 14, React 18 and TypeScript, ensuring performance and development efficiency.
- GitHub Data Storage: No need for a separate database, all navigation data and site configuration is stored in the user's own GitHub repository, version controlled and data secure.
- Secure Login: Support authentication via GitHub OAuth for account security.
- Drag-and-drop management: Users can intuitively drag and drop to sort and manage navigation links and categories.
- responsive design: The interface uses a mobile-first design concept for a great browsing experience on computers, tablets and phones.
- Theme switching: Built-in light and dark color themes, users can switch freely according to their personal preferences.
- Intelligent Search:: Provides a quick search function to help users quickly find their target site among a large number of links.
- Progressive Web Applications (PWA): Support is added to the home screen to provide a native app-like offline experience.
- One-Click Deployment: Detailed deployment documentation is provided, making it easy to deploy services to platforms such as Cloudflare Pages or Vercel.
Using Help
NavSphere is an open source project, users need to deploy it by themselves before they can use it. The whole process is mainly divided into three steps: preparing the environment, configuring GitHub and deploying, the following is the detailed procedure.
Step 1: Prepare the local development environment
Before you begin, make sure you have the following software installed on your computer:
Node.js:: Version requirements18.0Or higher.pnpm: A recommended package management tool, which can also be used with thenpmmaybeyarnTheGit: Used to clone project code from GitHub.
Operational Processes:
- Cloning Code: Open a terminal (or command prompt), go to the folder where you want to store the project, and run the following command to clone the project's source code locally.
git clone https://github.com/tianyaxiang/NavSphere.git - Go to the project directory:
cd NavSphere ```3. **安装依赖**: 在项目根目录下,运行命令安装项目所需的所有依赖库。 ```bash pnpm install - Configuring Environment Variables: There is a file in the project root directory named
.env.examplefile, you need to make a copy and rename it to.env.local. This file is used to store your personal configuration information.cp .env.example .env.localNext, you need to open the
.env.localfile, fill in the configuration information obtained in the subsequent steps.
Step 2: Configure GitHub
NavSphere uses GitHub as a backend for data storage and user authentication, so two key configurations are required.
1. Create a GitHub OAuth App for user login
- Visit your GitHub developer settings page and click the "New OAuth App" button.
- Application name: Fill in any field, e.g.
MyNavSphereThe - Homepage URL: If testing locally, fill in the
http://localhost:3000. If already deployed, fill in your web domain. - Authorization callback URL: Local test fill
http://localhost:3000/api/auth/callback/github, deploy and then modify the domain name section accordingly. - Upon successful creation, you will get a
Client IDand then click "Generate a new client secret" to generate a new client secret.Client Secret. Fill in each of these two values in.env.localin the fileGITHUB_IDcap (a poem)GITHUB_SECRETFields.
2. Create a GitHub repository for storing data
- Visit the GitHub Create a New Repository page.
- Repository name: The warehouse name can be arbitrary, for example
navsphere-dataThe - Public / Private: Repositories can be either public or private, and private repositories can better protect the privacy of your navigation data.
- Once you've created it, fill in your GitHub username and the name of this repository into the
.env.localin the fileGITHUB_OWNERcap (a poem)GITHUB_REPOfield. The repository branch generally defaults tomainFill inGITHUB_BRANCHfield will suffice.
After completing the above configuration, your .env.local The file should look something like this:
# GitHub OAuth App 配置
GITHUB_ID=your-github-client-id
GITHUB_SECRET=your-github-client-secret
# GitHub 仓库配置
GITHUB_OWNER=your-github-username
GITHUB_REPO=navsphere-data
GITHUB_BRANCH=main
# NextAuth 配置
NEXTAUTH_URL=http://localhost:3000
NEXTAUTH_SECRET=a_random_strong_secret_string
NEXTAUTH_SECRET You can set up a sufficiently complex random string yourself.
Step 3: Deploy Online
It is recommended to use Cloudflare Pages or Vercel for deployment, both of which offer free and easy deployment options.
Take Cloudflare Pages for example:
- Log in to the Cloudflare console, go to Pages, select "Create Project" and connect to your GitHub account.
- choose your Fork cloned
NavSphereProject Warehouse (fault(a repository for storing data). - build setup:
- Build command:
pnpm install && pnpm build - Building the Output Catalog:
.next
- Build command:
- environment variable: In the "Environment Variables" setting, add the variables you have specified in the
.env.localAll key-value pairs configured in the file (GITHUB_ID,GITHUB_SECRET,GITHUB_OWNER,GITHUB_REPO,GITHUB_BRANCH,NEXTAUTH_SECRET).take note of::NEXTAUTH_URLIt needs to be set up so that Cloudflare Pages is the domain name you generated, e.g.https://your-project.pages.devThe - Click "Save and Deploy", wait for a few minutes, and your personal navigation site is now online.
After successful deployment, visit your website, click Login, and start adding and managing your navigation links after authorization via GitHub. The system will automatically add a link to your site in the navsphere-data Created in the repository navigation.json (navigation data) and site.json (site configuration) and other documents.
application scenario
- Personal Developer Bookmarks Management
For programmers and developers, who need to access a large number of tool sites, documents and blogs on a daily basis, NavSphere helps them categorize these frequently used links, sync them in the cloud and version them via GitHub, creating an efficient and personalized work navigation console. - Internal Team Resource Portal
A team (e.g. design, development or operations team) can jointly maintain a NavSphere navigation site that centralizes links to internal systems, design resources, technical documentation, project management tools, etc. that are commonly used by the team. When new members join, they can quickly learn about and access all relevant resources through this portal. - Personal Knowledge Base Portal
If you have your own personal content such as blogs, knowledge bases, project portfolios, etc. that are distributed across different platforms, you can use NavSphere to make a unified personal homepage or navigation portal for others to get a quick overview of all your works and skills. - Geek's Browser Home Page
For those who like to tinker and customize, you can set your deployed NavSphere website as your browser homepage. This way, every time you open the browser, you can see your own well-organized navigation links and adjust the layout by dragging, dropping, and editing at any time, taking full control of your own Internet access.
QA
- What should I do if I am prompted with an authentication failure when logging in?
This is usually caused by a misconfiguration of the GitHub OAuth App. Please check the.env.localfile (or environment variable of the deployment platform) in theGITHUB_IDcap (a poem)GITHUB_SECRETis correct. Also, make sure that the "Authorization callback URL" in the GitHub OAuth App settings is the same as your website's physical address (including thehttpmaybehttps://and at the end/api/auth/callback/githubpath) is identical. - I can't see the navigation data after logging in, or the data fails to load?
First, check the environment variables in theGITHUB_OWNER(GitHub username) andGITHUB_REPO(the name of the repository) is correct. Next, make sure your GitHub account has write access to the data warehouse. If it's your first time logging in, the system will automatically create the datafile; if that fails, you can try to manually create an emptynavigation.jsonfile with the contents of[]And then try again. - The build fails when the project is deployed, what is the reason?
The most common reason for build failures is that the Node.js version does not meet the requirements, so make sure that the Node.js version of your deployment environment is greater than or equal to18.0. If you are on the Vercel or Cloudflare Pages platform, you can specify the Node.js version in the project settings. Alternatively, dependency issues may cause failure, so you can try removing thenode_modulesfolders andpnpm-lock.yamlfile, re-execute thepnpm installLet's see if it works. - Can I set the navigation data warehouse to private?
You can. Setting the GitHub repository where your data is stored to private better protects the privacy of your personal links.NavSphere protects the privacy of your personal links with authorized token access to the repository, so both public and private repositories can be read and written normally.


